
How to Generate Your First AI Fashion Image
A step-by-step walkthrough from your first upload to a finished AI fashion image: model tiers, a short prompt, settings and download.

Made with Fittins AI · View this image
Creating your first AI fashion image takes a few minutes. In this tutorial we go through it step by step: choosing a model tier, writing a short prompt, choosing the settings, and downloading the result.
Step 1: Choosing Your AI Model
Fittins AI gives you four AI model tiers, each with different strengths. The tier you choose has a significant impact on the detail, speed, and credit cost of your output. Here is a quick comparison to help you decide:
Model Quick Reference:
- Turbo -- The fastest and most affordable tier, available on every plan. Use it for rapid prototyping and prompt testing.
- Default -- The balanced all-rounder, available on every plan. A 1K image costs 40 credits. Perfect for everyday use and a great balance of quality and cost.
- Premium -- Higher fidelity for hero images and campaign shots. Available for images from Creator Starter. Higher credit cost.
- Ultra -- The top tier for final production images and editorial spreads. Available from Creator Business. Highest credit cost.
- Quality -- Chosen separately from the tier. Images are 1K on every plan; 2K, 4K and 8K are available from Creator Starter.
- Same tiers for video -- Video generation (from Creator Kickstart) uses the same tiers; Premium video starts at Creator Pro and Ultra at Creator Business.
- Credit cost -- Images cost 30-100 credits depending on the tier and quality you choose.
First-Timer Recommendation
Start with Default. It delivers good quality at a moderate credit cost on every plan, giving you quick feedback as you learn prompt writing. Once you are comfortable, move up to Premium or Ultra (if your plan includes them) for final production images.
Step 2: Write a Short Prompt
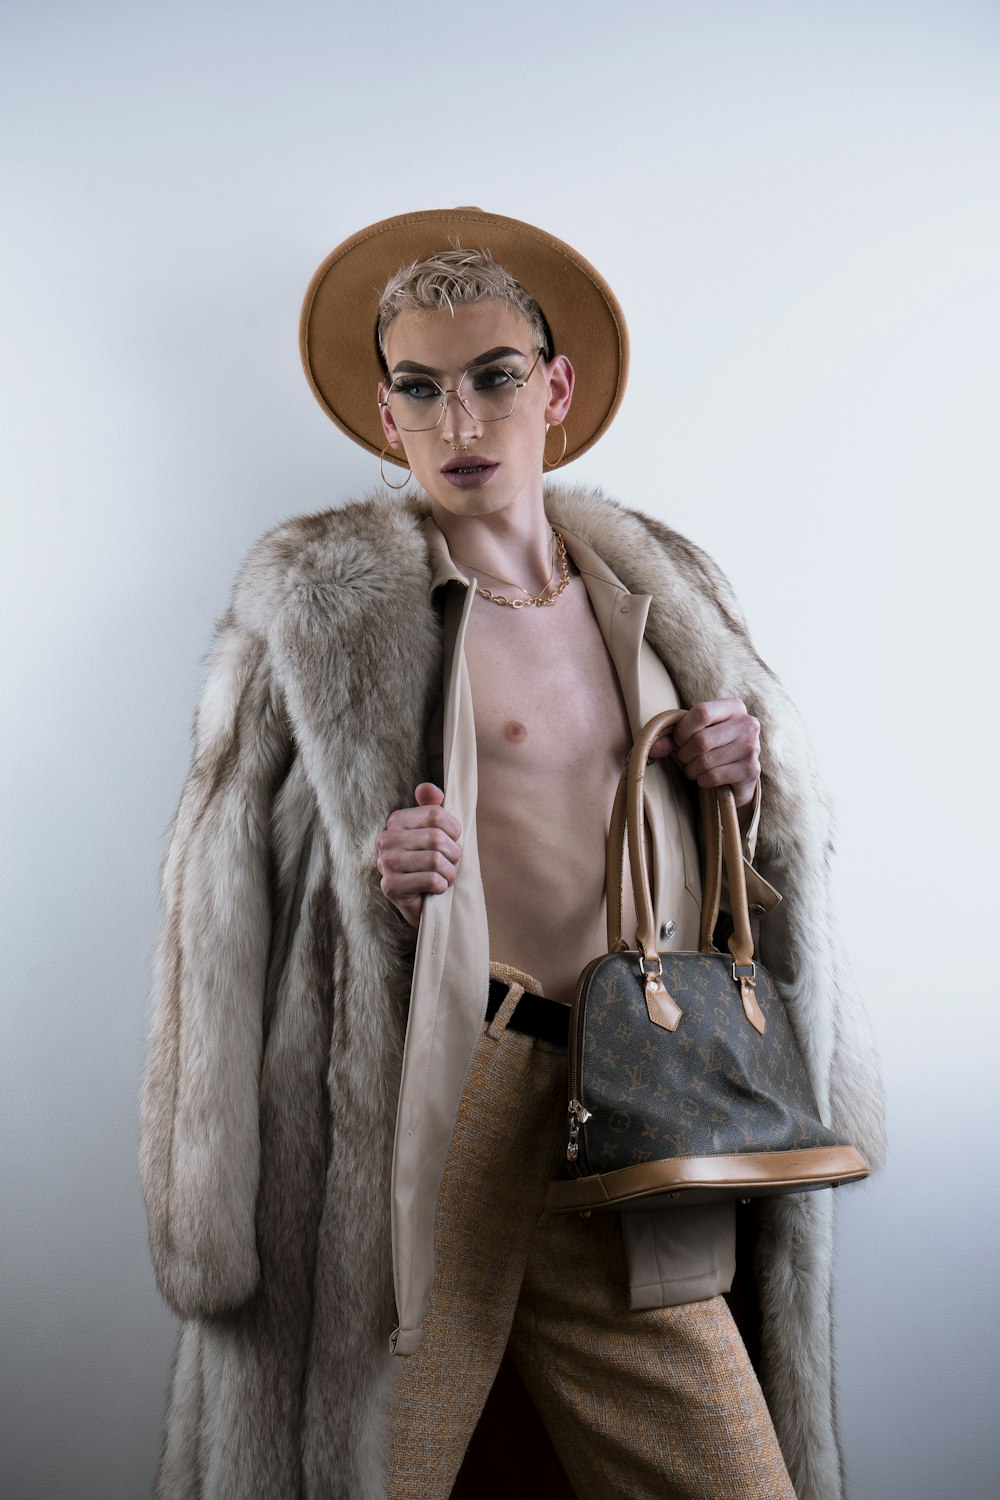
Fittins AI does most of the describing for you. When you press Generate, it looks at your product photos and the AI model you chose and describes them in detail. The person comes from the model, and the clothes come from your photos, so your prompt only needs what they can't show.
Set the scene
Where is the model? A few words are enough. Example: "on a rain-wet street in Paris". You can also pick a location from the library instead.
Add the pose and mood
What is the model doing? Example: "walking toward the camera, smiling".
Name small details to keep
If the product has a small detail that is easy to miss, say it. Example: "two buttons on the cap" or "small logo on the left boot".
Optional: the light
If the light matters, add it in a few words. Example: "soft evening light".
Don't describe the person or the clothes
Describing someone else ("a woman in her late 20s with short hair") or describing the garment again competes with the model and the photos you chose, and can confuse the AI. The same goes for long prompts pasted from ChatGPT.
Step 3: Putting It Together
Put the scene first, then the pose, then any detail to keep:
on a rain-wet street in Paris, walking toward the camera, smiling,
soft evening light, two buttons on the coatThat's all the AI needs. A short prompt like this lets the generator keep your model and your product the way they are in your selections.
Step 4: Configure and Generate
Before hitting Generate, check your settings. Every generation needs an AI model (pick one from the library, or one of your custom characters for brand consistency) and 1 to 3 product photos: different photos of one item, or items worn together. Another color of the same item goes in a separate generation. Select the aspect ratio (portrait 2:3 for full-body shots, square 1:1 for social media, landscape 16:9 for banners). Choose your quality level: 1K on every plan, with 2K, 4K and 8K from Creator Starter.
Aspect Ratio Guide
Portrait (2:3 or 3:4) works best for full-body fashion shots. Square (1:1) is ideal for Instagram feeds and product grids. Landscape (16:9) suits website banners and hero sections. Match your aspect ratio to the final use case before generating.
Step 5: Review, Iterate, and Download
Your image typically appears in about a minute. Take a moment to evaluate it against your vision. Check fabric accuracy, lighting consistency, facial quality, and overall composition. If something is off, tweak the relevant part of your prompt and regenerate. It is normal to produce a few variations before selecting your best output.
Once you have an image you love, download it as a PNG. If you need a larger file, generate it again at 2K, 4K or 8K quality (from Creator Starter); the new take will differ slightly, so choose quality up front when you can. You can also run a video generation with the same AI model and products (from Creator Kickstart).
Success Tip
Save a prompt that works. Reuse it with other products and change only the scene or the detail to keep. The same model and prompt across products give your catalog a consistent look.
Let your photos and your model do the describing. Your prompt adds the scene, and the one detail that must not be missed.
— Fittins AI Team